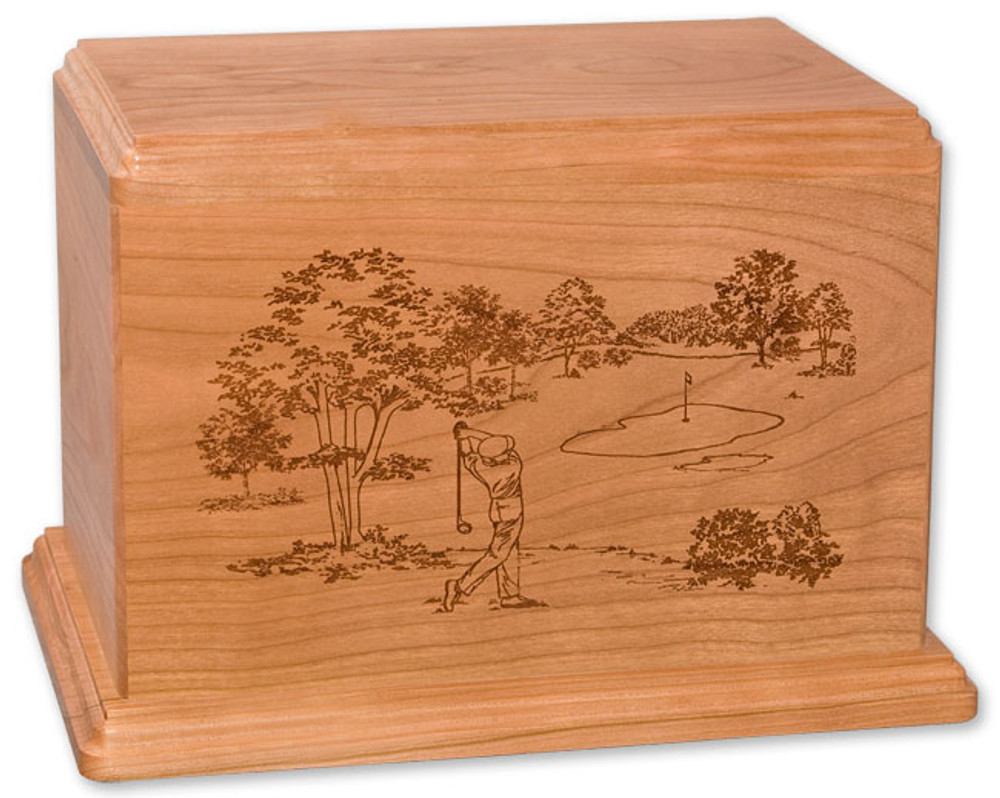
Our scenic golf urn design is laser carved deep into the wood of this beautiful wood cremation urn. The laser cut scene features a golfer completing his swing, enjoying his last round of golf on a beautiful fairway. An ideal memorial urn for the golfing enthusiast, the golf theme is carved into the wood with simple artistry.
This golf urn is made using premium materials and craftsmanship at an budget-friendly price in your choice of light natural cherry wood (as pictured), mahogany, or white maple wood. Our laser carved wood urns are made to order in the USA for your loved one within 3-5 business days. We offer this golf cremation urn in both standard (200 cubic inch) and companion (400 cubic inch) capacity sizes.
Features
Crafted in the USA
Premium solid wood cremation urn
Choose natural cherry, mahogany, or white maple
Laser carved golfing scene with gorgeous fairway
Custom engraved inscription available
Standard adult cremation urn size
200 cubic inch capacity
10 1/2" long x 6 1/4" wide x 7 1/4" high
Bottom panel removes to access interior; attached with screws
Also available in companion urn (double) size:
400 cubic inch capacity
12" long x 8 1/2" wide x 8 1/2" high
Select option above
Shipping & delivery
This item is made to order within 3-5 business days
Free standard ground shipping
Time in transit varies by destination; generally 5-7 business days
Expedited shipping can be arranged: Contact us at 877-900-5309